https://wppopupmaker.com/guides/auto-opening-announcement-popups/
Auto-opening Announcement Popups
Want to create a news or announcement popup that opens automatically? Use this guide to walk through the 5 steps needed to create your auto-opening announcement popup.
Step 1: Creating Your Content
Let’s create a new popup. To get started, log into your WordPress Admin area and click the “Add Popup” link in the “Popup Maker” menu. Alternatively, you can click the “Add New Popup” button on the “All Popups” page.

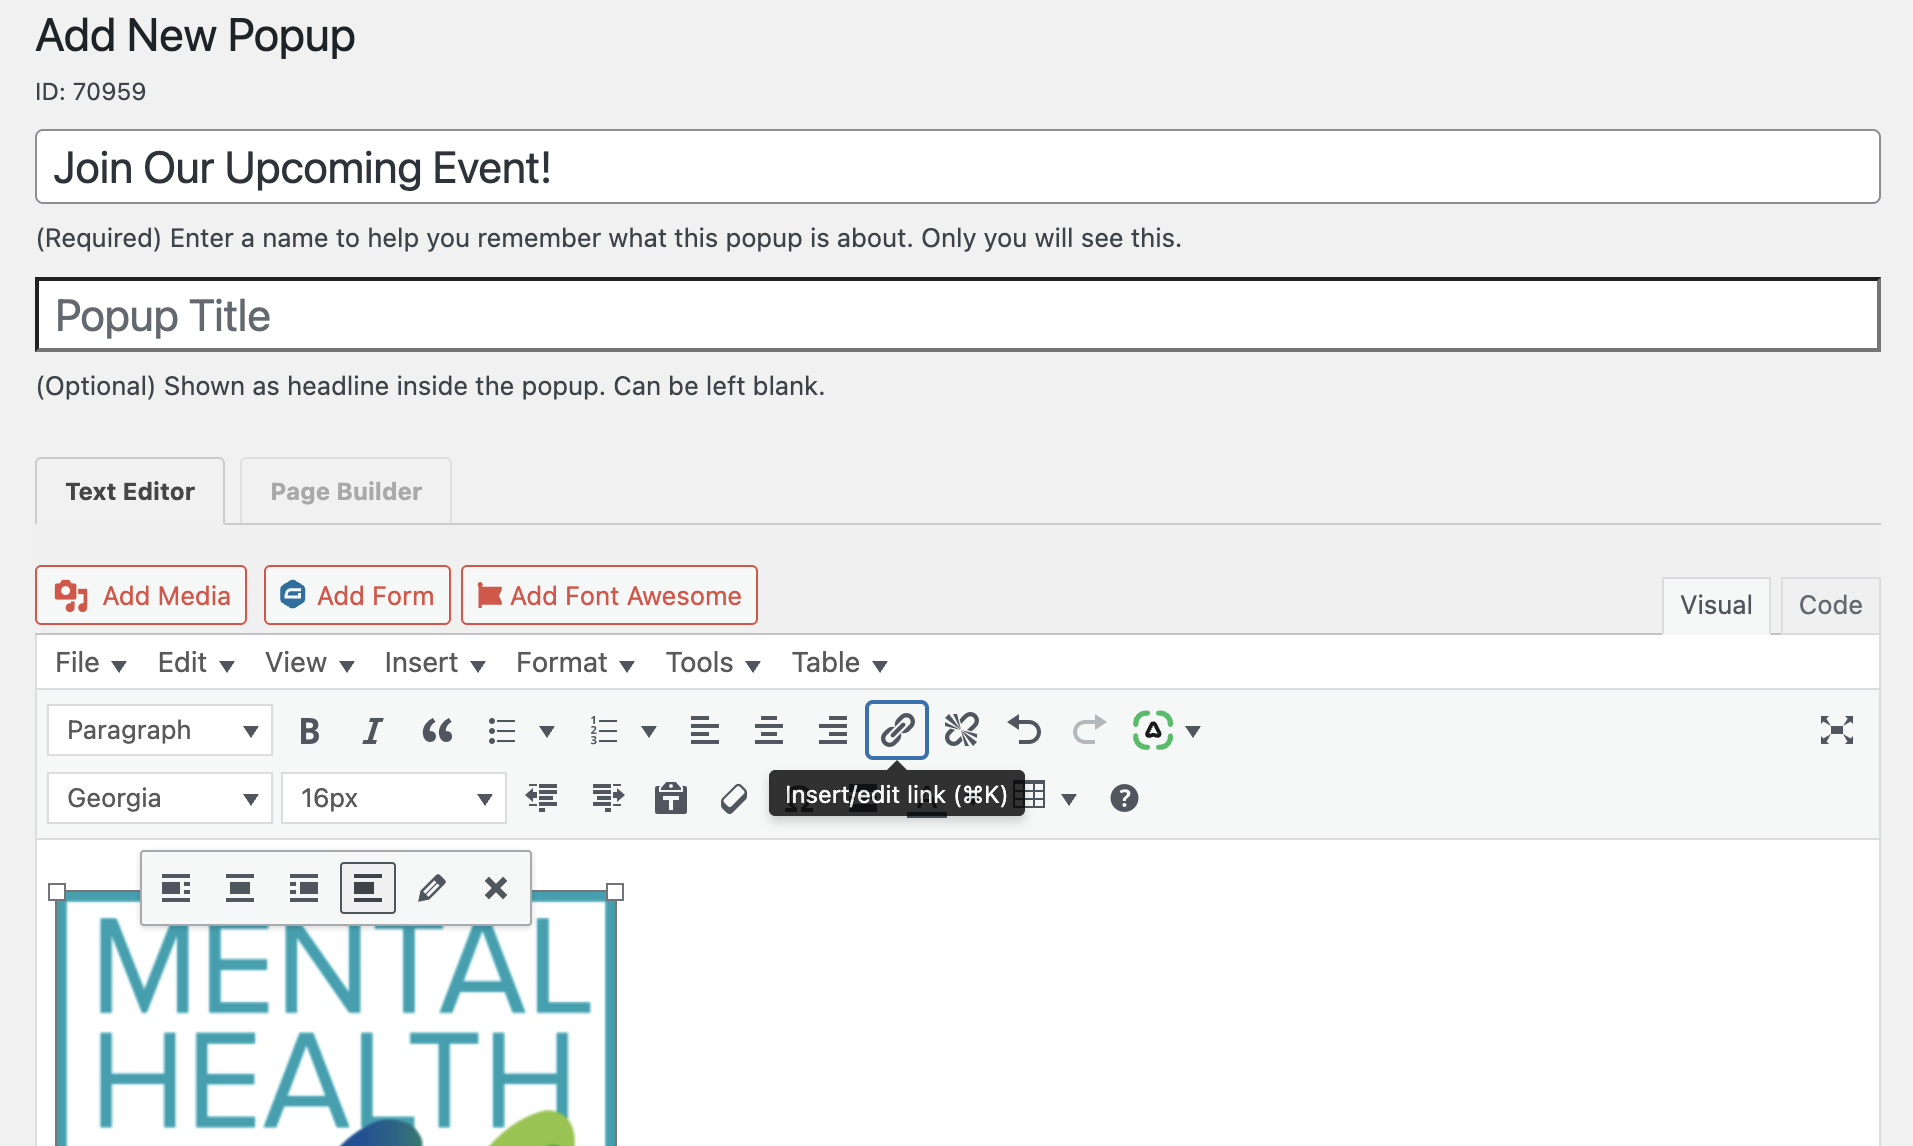
On the new popup page, enter the name for the popup. The name is for internal use only so that you can find the popup in the list of popups. No site visitor will see this name.
Then, enter the title, which will be the main headline in the popup. You can leave this blank if you do not need a headline.
Next, enter the content of the popup. To set up a popup that displays an image with a link, click the Add Media button and choose your image. Then, click on the image to select it and use Insert/edit link to add your link on the image. If you are linking to an external site, select "Open link in a new tab" to keep visitors on your site after they click on the popup.
Step 2: Adding Triggers and Cookies
Now that we have our content added, it’s time for us to set up our triggers and cookies. The triggers are what causes the popup to open. For this popup, we want it to open automatically.
By default, the popup will open for the site visitor every time they load the page, forever. We probably don’t want that. We may only want to show the popup until the site visitor takes some action, such as closes the popup, and then prevent the popup from opening again. To do this, we use cookies.
First, click the “Add New Trigger” button in the “Targeting” section of the popup settings.

In the popup that opens, choose “Time Delay / Auto Open” as the trigger. Click the “Would you like to set up a cookie as well?” option.
Upon clicking that option, a new dropdown will appear where you can select when the cookie is set. If you choose “On Popup Close,” the popup will continue to open until the site visitor closes it. Once that action is taken, the popup will not open again. For this popup, we will leave the default of “On Popup Close.”

Then, click the “Add” button.
On the next screen, you will see a setting to adjust the time delay. This is how long Popup Maker should wait until showing the popup.

Since we want this to display right after the page loads, we will leave this as 500 milliseconds. So, click the “Add” button.

Our trigger and cookie are now set up!
Step 3: Set Targeting
By default, Popup Maker will open our popup on all pages, posts, products, and everywhere else. To adjust where the popup opens, we use the “Targeting” settings. For this announcement, we will only target the home page.
Switch to the “Targeting” tab of the popup settings. Click on the “Choose a condition” dropdown.

There are many conditions you can choose from, including targeting the home page, only posts, only pages, or specific pages. For this popup, I am just going to select the “Home Page” option.
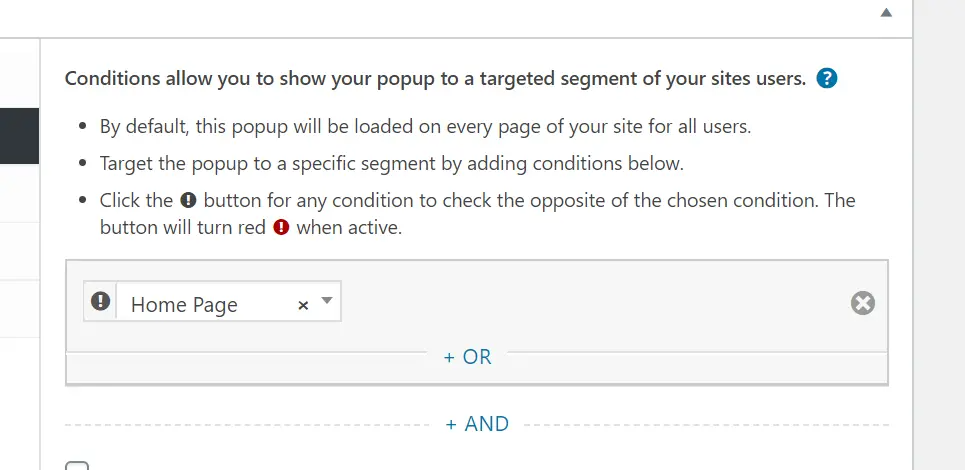
Once selected, new “And” and “Or” options will appear. You can use these to target multiple areas of your website with the same popup. For this popup, I will not use those since I am only targeting the home page.
Step 4: Adjust Display Settings
Now that we have a way for the popup to open (triggers) and we have told the popup what pages to load on (targeting), we can adjust what the popup looks like using the “Display” settings.
Popup Maker provides many granular settings so you can fine-tune your popup. For this popup, we want a simple popup that appears in the middle of the screen.
Now, go to the “Display” settings tab. You will see “Display Presets” first. Along the top will be links for other display settings, including size, animation, and position.
To help us get started, we will click on the “Center Popup” display preset.

Once clicked, a message will appear saying the display settings have been updated.
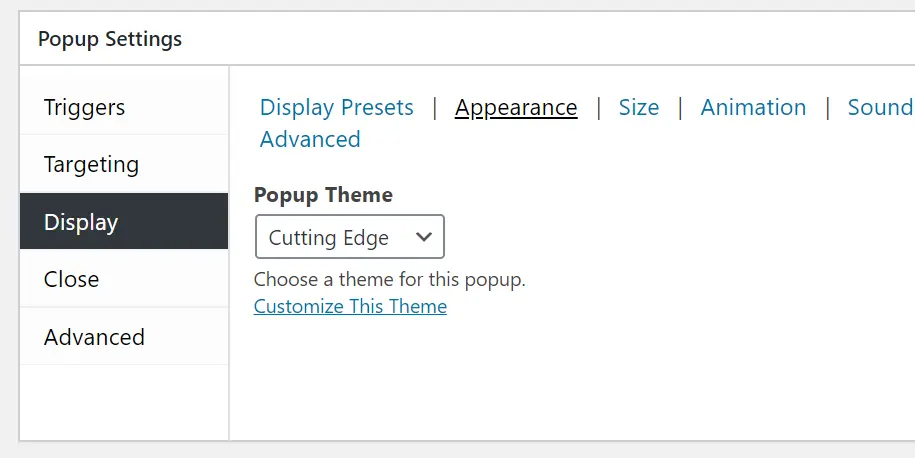
All that is left is to click the “Appearance” link. This will let us select the “theme” for the popup. Popup Maker comes with several built-in themes, and you can also create your own themes that match your site.
For this popup, I am going to choose the “Cutting Edge” theme.
Step 5: Publish
Now that we have our popup set up, it’s time to publish and check it out. First, click publish to save your popup.
Next, go to the page you are targeting with your popup. In our case, it’s the home page. Since this popup’s trigger is auto open, we will immediately see the popup appear.

Once you have closed the popup, our cookie will be set. This may make it difficult to view changes to your popup. If you edit or change the popup, you can go back to the page you are targeting and use Popup Maker’s admin menu to open the popup.

Your auto-opening announcement popup is now ready!
Was this article helpful?
That’s Great!
Thank you for your feedback
Sorry! We couldn't be helpful
Thank you for your feedback
Feedback sent
We appreciate your effort and will try to fix the article